Looking for a fun Halloween project this season? We’ve got you covered. Check out our easy step-by-step guide on how to make your own adorable DIY Halloween Ghost – big or small. Let’s get spooky!
Here’s what you’ll need to get started:
Large Ghost Materials list: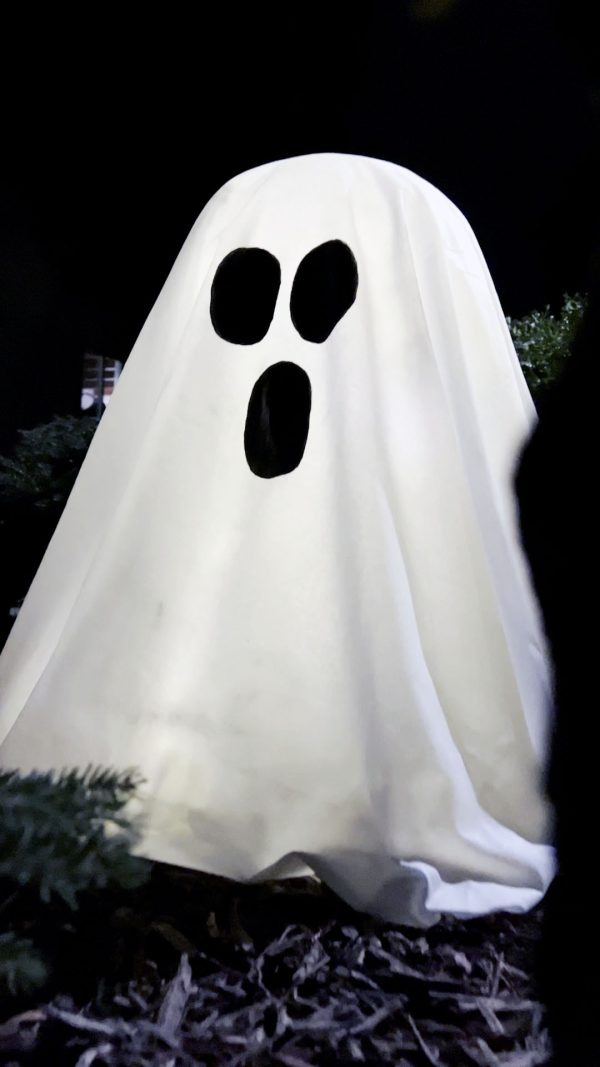
Canvas/Duck Cloth or Cotton Fabric
5-gallon bucket
Beach ball (or balloon)
Tape
Kitchen-size garbage bag
Plastic drop cloth
Entropy Resins CLR or BRT Resin
Entropy Resins CLF Hardener
Small Ghost Materials List:
Canvas/Duck Cloth or Cotton Fabric
Packing Tape
Paper Towel
Plastic disposable cup
Drop Cloth
Entropy Resins CLR or BRT Resin
Entropy Resins CLF Hardener
The Process
Building the Mold
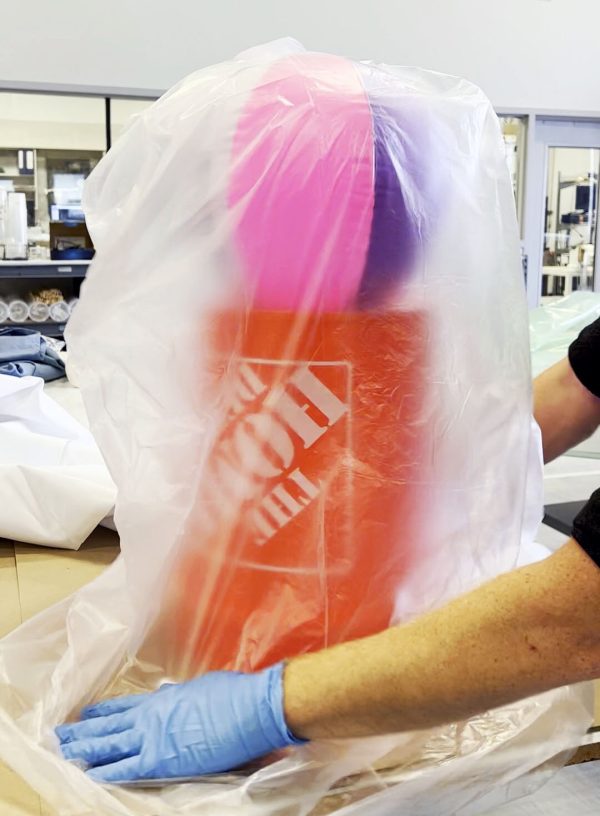
Large Ghost: Partially inflate your beach ball or balloon, then tape it to the bottom of your 5-gallon bucket to create your mold. Finish inflating after it’s been taped. Next, slide your kitchen-sized garbage bag over the top of the mold to act as the mold release.
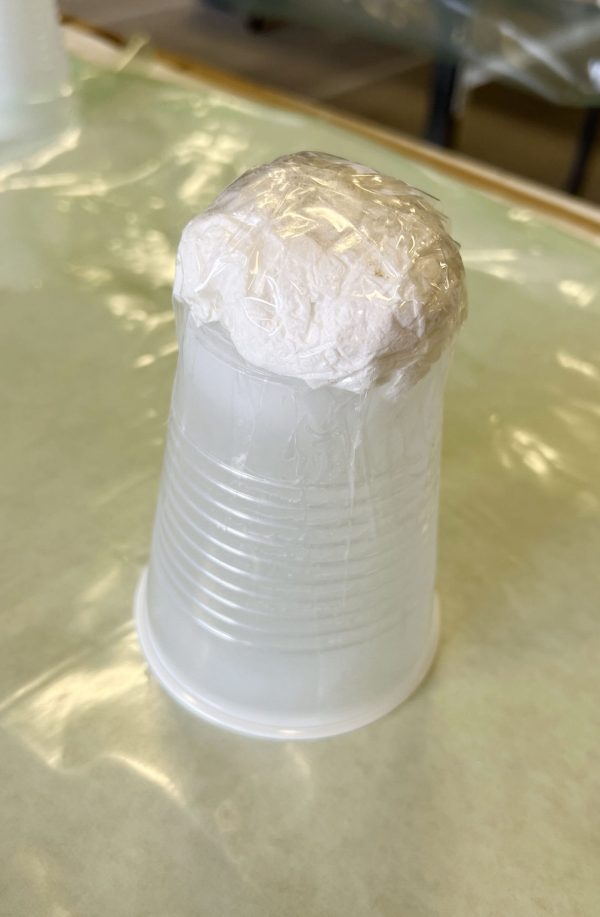
Small Ghost: Take a half-size sheet of paper towel and ball it up to form a half-circle shape. Tape this with packing tape to the bottom of the cup. Be sure to cover the paper towel completely so no epoxy can get in, especially if you plan on placing a light source underneath (the hardened drip spots will cause your ghost to glow unevenly). If you want to make stackable ghosts for easier storage, use a few different sizes of cups. NOTE: Process photos throughout article showcase the large ghost. For small ghost process photos, scroll to the end.
Choosing the Fabric and Cutting to Size
In the materials list, we mentioned the use of either a canvas or regular cotton fabric for the mini ghosts. Both materials will work. Since canvas is a little stiffer of a material, it might take a bit more coaxing to lay flat. However, it will tend to give larger and smoother curves to your ghost. The lighter-weight cotton fabric will have smaller curves and hang straighter down next to your mold.
For the large ghost, consider using canvas so the finished ghost is more rigid and durable.
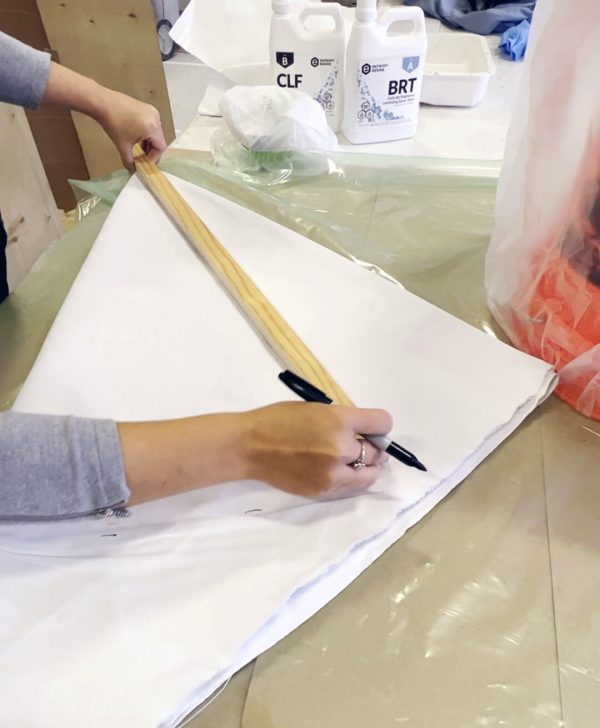
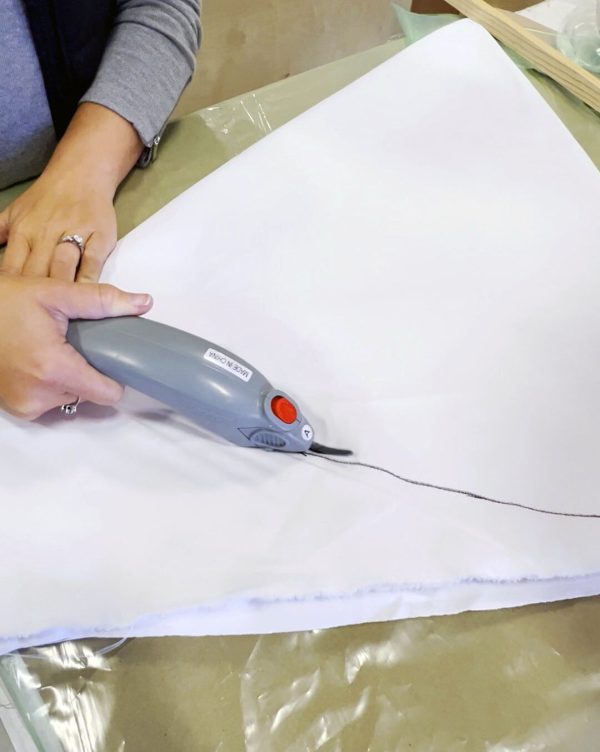
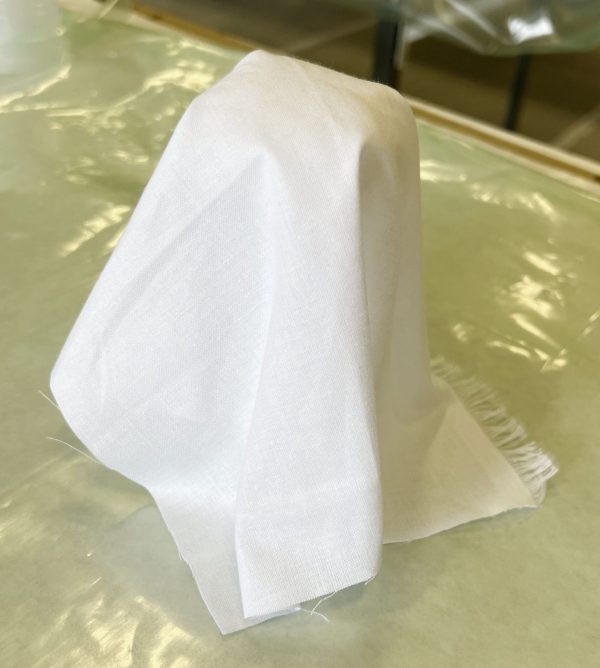
Lay your chosen fabric over your mold and make sure that the fabric will touch your work surface all the way around, then size your fabric with scissors. With the fabric draped over your mold, use a marker to mark where you’ll need to make your cuts. We recommend using a double-fold fabric cutting technique.
The Epoxy
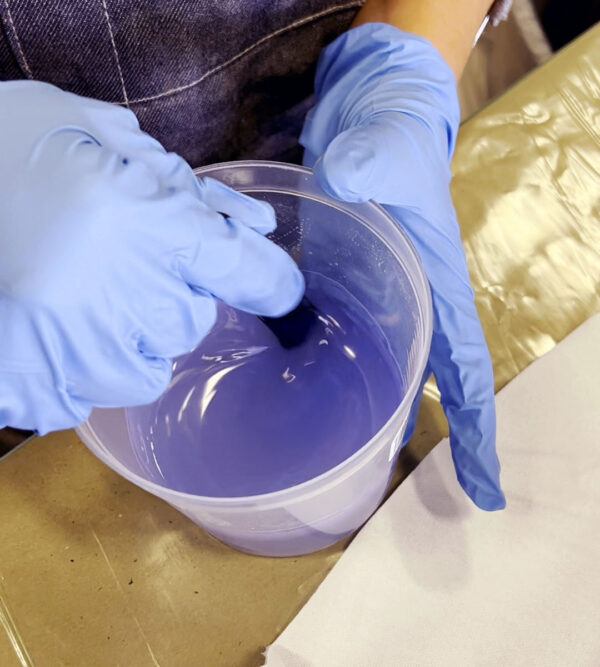
Before you begin, always be sure to wear gloves and safety glasses when working with epoxy.
For this project, our CLR or BRT resins will provide the best results. We happened to use BRT because it was readily available in our tech shop. We paired the resin with our CLF hardener due to its faster cure time, which means the epoxy will have less time to drain out of your fabric and end up as a puddle on your work surface.
Large ghost: We used about 27 oz of epoxy
Small ghosts: About 1 oz on average of epoxy for the mini ghosts (these were made as a batch)
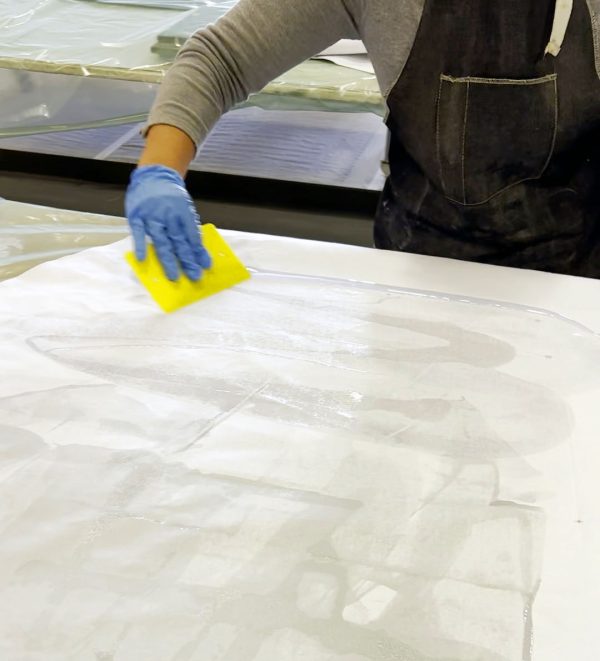
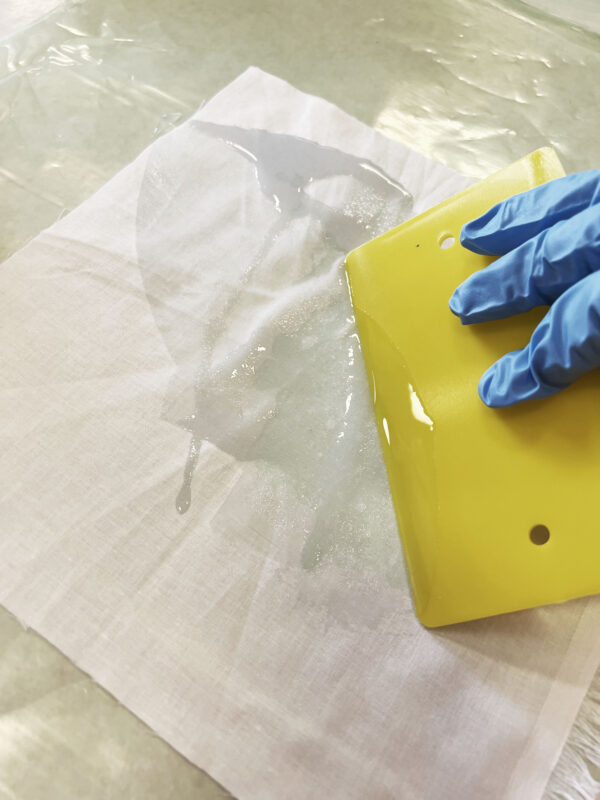
Lay your fabric in the middle of your drop cloth. Drizzle epoxy over your fabric. Using a plastic scraper, spread the epoxy over your fabric until the whole thing is wet with epoxy.
Next, pick up the fabric in the middle and lift it off the drop cloth. This will make it easier to line up the fabric close to the center of the mold. Place the fabric on your mold, and make sure it’s smooth over the top of your balloon/beach ball/tape ball.
Once you’re happy with the positioning, it’s time to work on shaping the pleats (ruffles? Draping?) On the mini molds, the cotton fabric should be very easy to work with, but won’t have a ton of volume when wet out. The canvas will have the opposite problem and may not hold its position right away. You may have to wait for the epoxy to start to set up before the fabric will begin to hold the shape you want. For the Large ghost, the canvas should hold shape pretty nicely, but with the mini ghosts, if it isn’t behaving the way you want, walk away for a little bit and come back once the epoxy has started to gel and the fabric will hold its shape better.

Let it Cure
Now that your ghost(s) are perfectly shaped, walk away and let it cure. We recommend allowing everything to cure overnight. This way, you’ll have a good solid cure for when you’re ready to demold your ghosts.
Demolding
The demolding process should be pretty simple. The large ghost should slide off the mold with ease. The trash bag may stick slightly, but a gentle tug should detach it from the inside of the ghost.
The mini ghosts may be a tad more difficult. I’ve noticed that the cups—especially the smaller, thin clear ones—don’t seem to release as nicely. They require a little more effort to pull out, and often end up breaking. The sturdier colored cups (solo cups) tend to remove in one piece. This is the part where you know if you covered your paper towel well enough. If not, parts of it may stick to the inside of your ghost’s head. This will be a problem if you want to light your ghost from inside as it will leave dark spots. If this happens, you’ll want to take a rotary tool and grind that section away without going through the shell of the ghost.
Now is the time to finish shaping your ghost. Trim any unwanted fabric from the bottom of the ghost. In most cases, a sturdy pair of scissors is sufficient. If that doesn’t work, a rotary tool is also a good option. Once you have the desired shape, it’s always a good idea to use a little bit of sandpaper to soften any sharp points or edges around the bottom of the ghost.
Coating
Epoxy’s Achilles heel is UV exposure. All epoxies will eventually begin to yellow and get cloudy with prolonged exposure to sunlight. If you are going to use your ghost as an outside decoration, you should consider painting it. A couple of good coats of spray paint will protect your ghost so you can use it again next year. A good plastic-compatible spray paint is recommended.
If you are just using it for one year, you may be able to get away without a top coat, but we recommend using our BRT resin for better UV stability.
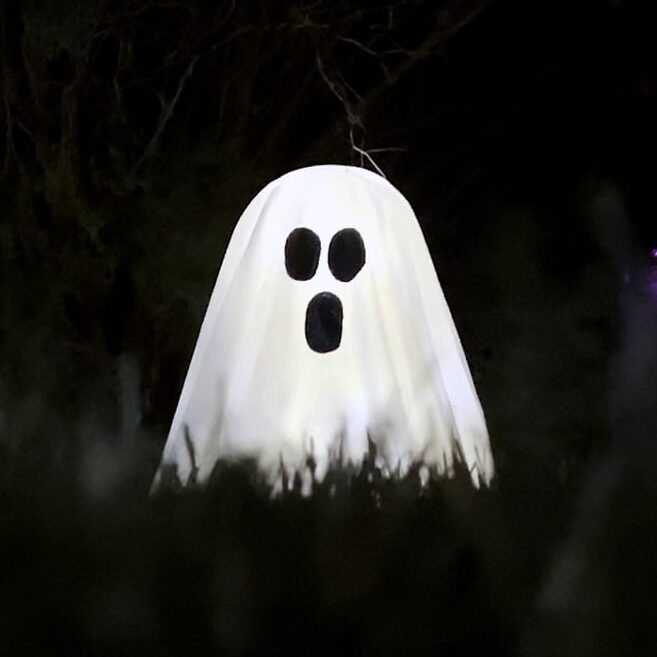
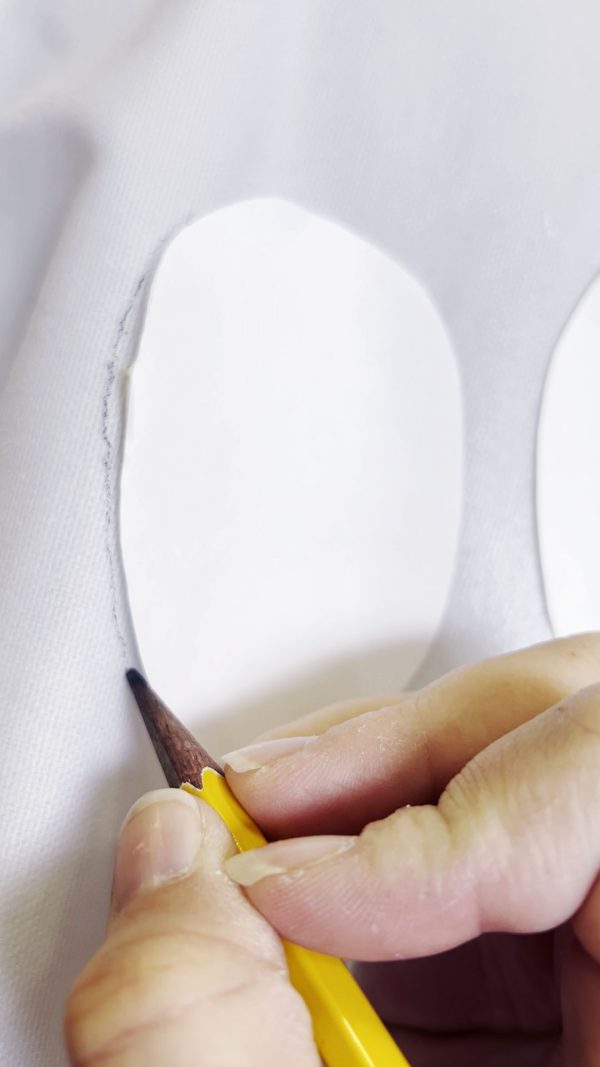
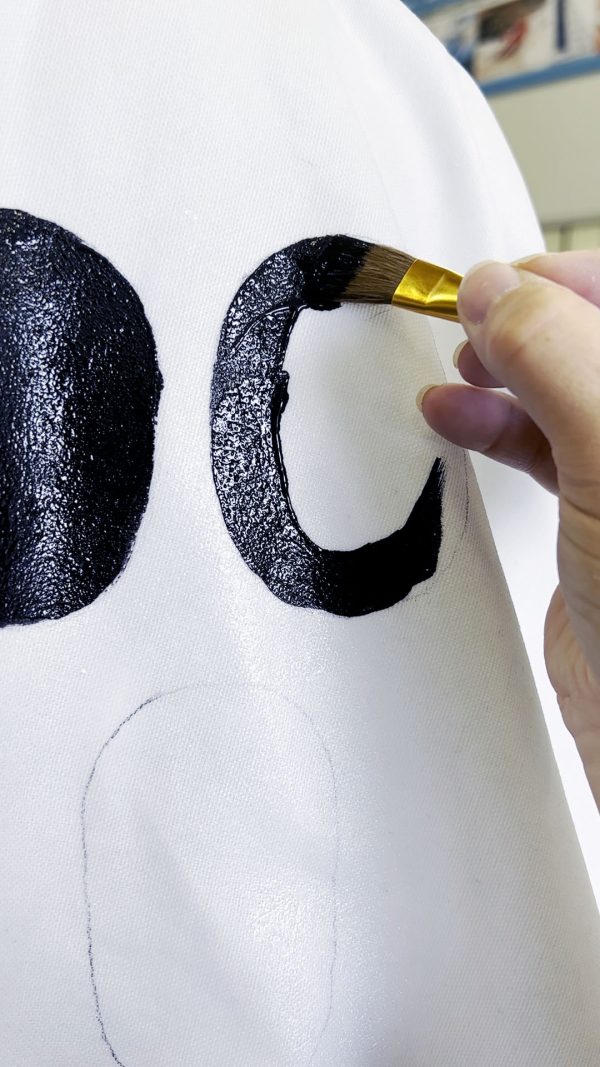
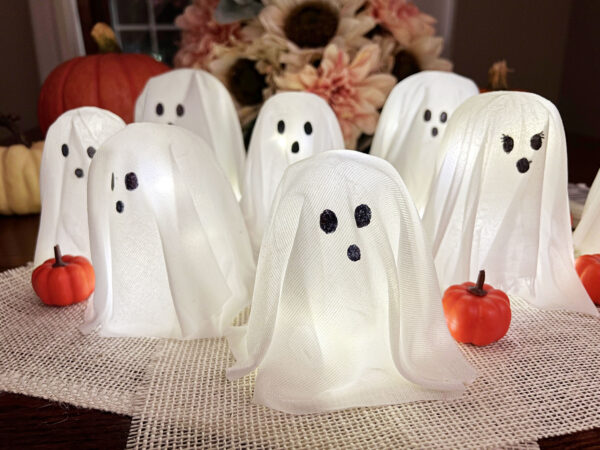
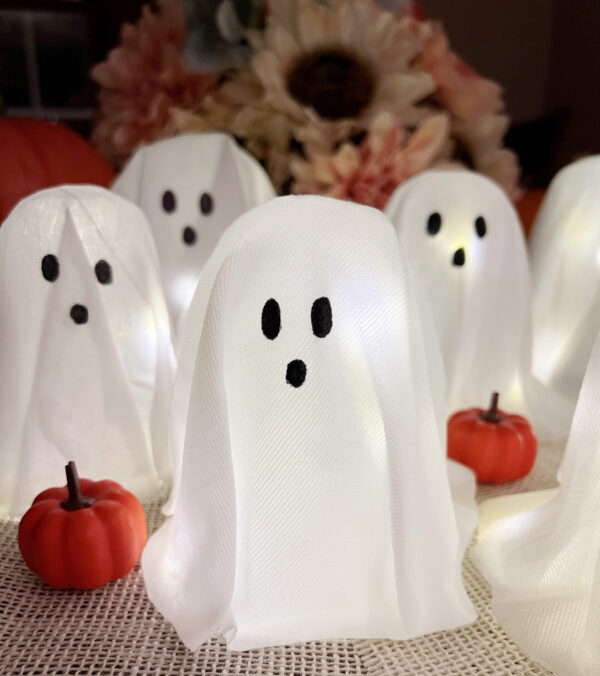
With that out of the way, here comes the fun part—its’ time to decorate! We went with the classic ghost style (circular eyes and mouth), but you can get as crazy as you’d like. Add eyelashes, an angry ghost face, or that one from the popular movie series….you know the one. Go crazy. It’ll be a scream!
Lighting
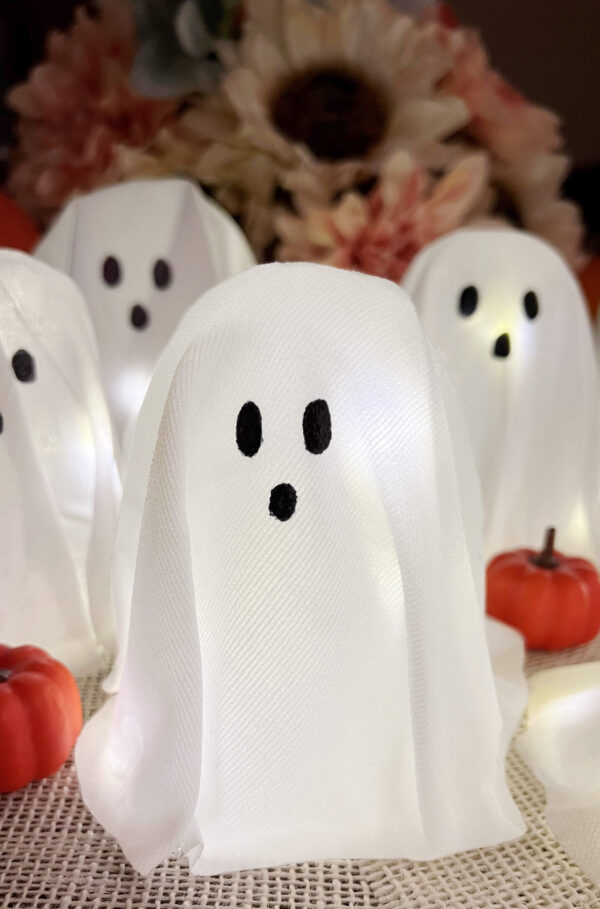
For the mini ghosts, they pair well with those little battery tea lights. If you made a batch like we did, you could run some fairy lights from one mini ghost to the next, so you can turn them all on with one switch.
For our large ghost, we used fairy lights. We did a couple loops around the inside of the body, then taped them to the inside center of the head. If you have a large outdoor Halloween display, you might want something more robust that works with the rest of your decorations.
Watch the video!
Wrap up
We hope you enjoyed this project! Don’t forget to tag us on social media using @entropyresins on Twitter, Facebook or Instagram. We love seeing what our Better Makers are creating!
Shop the resin: BRT – Optically Brightened Laminating Epoxy
Mini Ghost photos:
Blog topic: DIY Halloween Ghost